For Administrators:
Ensure that a Driver User Profile has been created for each driver on your account. Without login credentials, drivers will not be able to access the Superfy App.
- Download the Superfy App if you haven't already done so
-
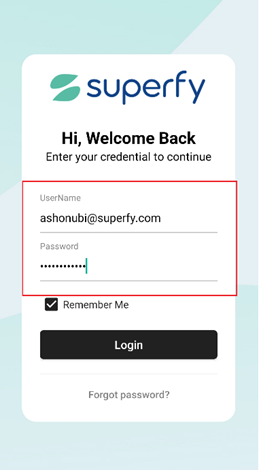
Open the Superfy App on your mobile device and log in with your username and password.
-
Tap on Routing menu located at the bottom of the screen to view the schedules assigned to you for the day.

- Tap on the Schedule you wish to process.

-
From the Vehicle List page, choose your vehicle for the route. Assigned vehicles will automatically appear at the top of the screen as the default option.

- On the Route summary page, tap on the Download Docket PDF.

Each schedule will display one of the following statuses: Planned or Planned and Locked.
Planned
The Docket PDF, available on the Route Summary page when you select a schedule, is not available for download.
Planned and Locked
The PDF version of the schedule is available for download from the Route Summary page. It is strongly recommended that you download and review the PDF before starting your route, as it contains a full list of assigned stops and any additional instructions from your manager.
- Tap Start Route to begin navigation. The app will use your device’s GPS to guide you to each stop with voice-enabled directions.

- The Stop Details pop-up will appear before you reach each stop, displaying the location or container name along with any additional instructions or required actions from your manager.

- Tap Got It to confirm that you have read and acknowledged the instructions.

-
When you arrive at each stop, tap the Container or Location icon to process the collection.


Note: As part of processing a collection, you may be required to complete a Proof of Service checklist at each collection point.
- Tap Collect to collect the container

- Complete the assigned Checklist if available and tap the Collect button.

-
If no checklist is available, tap Yes on the pop-up message displayed in the center of the screen.

- Tap Missed to report a missed collection, then select or enter the appropriate reason.
If the reason is not listed, tap Other and enter a custom reason.


- Tap Deploy to deploy a container to a location. You may also be required to complete a Proof of Service checklist for this.

The Deploy button may not be available for all container or location stops. It will only appear if the stop requires a deployment
- After each completed collection, follow the map to the next stop and repeat the process until the route is finished.