During the initial account setup and onboarding stage (pre-installation), it is essential to add your Zones to the platform. This helps streamline the installation process by having this information pre-recorded on the platform.
- Log into your Superfy Account
Upon logging into the platform, you will be automatically taken to the Collections module. Otherwise, navigate to the Collections module located on the top left-hand side of the screen.

- Click on the Settings icon located on the top right-hand side of the screen.
- Select Zones from the listed menus.

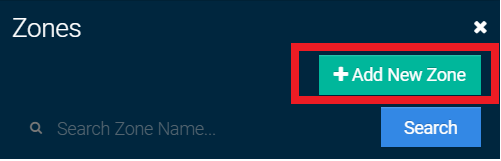
- Click Add New Zone
- Enter the required information into the Zone Details pop-up screen.
- Enter the Zone Name
- Enter a brief Description about the Zone.
- Add the Location of where you'd like the zone to placed on the map. There are 2 different ways to do this:
- Manually enter the location on the Address field and click Set Map Location From Address
- Enter the Coordinates of the location on the Latitude and Longitude field and click set map and click on Set Map Location from Coordinates
- Click Save

If you want to filter your zone(s) even further, add a Group. A Group is a sub-group of a Zone. Learn More
Click Here to add a container to a Zone and Group